How to Organize Your Fridge: A Step-by-Step Guide

Are you constantly struggling to find what you need in a cluttered refrigerator? Learning how to organize your fridge can transform this essential kitchen appliance from a chaotic mess into a streamlined space where everything has its place. Whether you’re looking to reduce food waste, save money, or simply make your daily routine easier, organizing your fridge is key. In this guide, we’ll show how to organize your fridge for efficiency, cleanliness, and to keep your food fresher for longer.
Why It’s Important to Organize Your Fridge
Before we get into the details of how to organize your fridge, let’s talk about why it’s important. An organized fridge offers several benefits:
Minimizes Food Waste: With proper organization, you’ll always know what you have and can prevent food from spoiling.
Maximizes Storage Space: A clutter-free fridge makes better use of available space, so you can fit more without overstuffing.
Promotes Food Safety: Correctly organizing your fridge can help prevent cross-contamination and maintain appropriate temperatures for different food types.
Saves Time and Money: When you know how to organize your fridge, you’ll spend less time searching for items and won’t buy duplicates of things you already have.
Step 1: Clean and Empty Your Fridge

The first step in learning how to organize your fridge is to start with a clean slate. Remove all the items from your fridge, including food, drinks, and shelves. Follow these tips for a thorough clean:
- Take Everything Out: Set perishable items in a cooler to keep them fresh.
- Check Expiration Dates: Discard any expired or spoiled food.
- Clean All Surfaces: Wipe down the shelves, drawers, and walls using a solution of warm water and mild soap. Make sure the interior is dry before moving on.
A clean fridge gives you a clear perspective on how to organize your fridge effectively.
Step 2: Categorize and Group Items

One of the best ways to master how to organize your fridge is to group similar items together. Categorizing your fridge’s contents makes it easier to locate things and reduces clutter. Group items by type, such as:
- Dairy: Milk, cheese, yogurt, and butter.
- Proteins: Raw meats, deli meats, eggs, and plant-based proteins.
- Fruits: Fresh fruit like berries, apples, and citrus.
- Vegetables: Leafy greens, root vegetables, and pre-cut veggies.
- Condiments: Sauces, jams, and salad dressings.
- Beverages: Water, juice, soda, and wine.
Organizing items by category is one of the foundational steps in learning how to organize your fridge to make it both functional and visually appealing.
Step 3: Understand the Ideal Placement for Different Foods

Knowing the right spot for each type of food is essential in mastering how to organize your fridge. Different areas of your fridge maintain different temperatures, and using these zones properly will keep your food fresh and safe to eat.
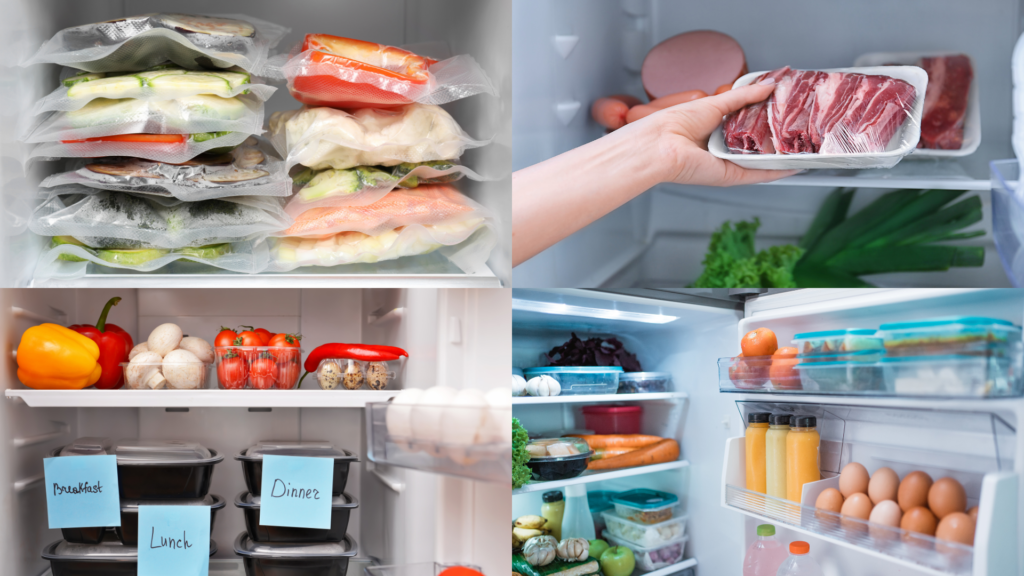
- Top Shelves: Store ready-to-eat foods here, such as leftovers and beverages. The top shelves typically have the most consistent temperature.
- Middle Shelves: This is the perfect spot for dairy products like milk, cheese, and yogurt, as it’s typically cooler than the top but still stable.
- Bottom Shelves: The coldest area of your fridge, ideal for storing raw meat, fish, and poultry. Always store these in leak-proof containers to avoid contamination.
- Crisper Drawers: Use these for fruits and vegetables. Many fridges have two drawers, one with higher humidity for leafy greens and another with lower humidity for fruits.
- Fridge Door: This is the warmest part of your fridge, so only store items like condiments, sauces, and beverages here. Avoid placing eggs or milk in the door.
Knowing these temperature zones is critical in learning how to organize your fridge in a way that promotes freshness and food safety.
Step 4: Use Clear Storage Containers

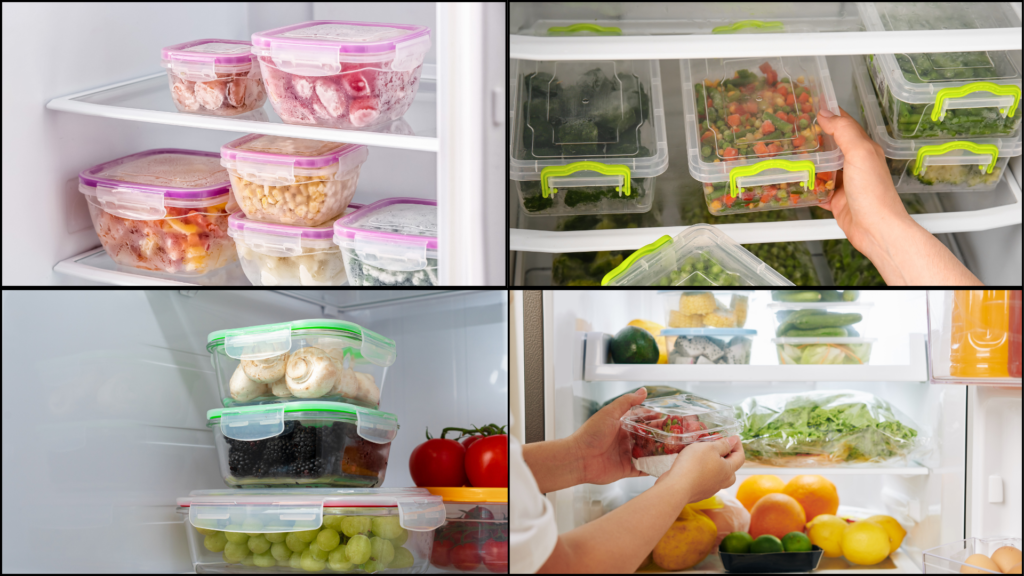
An essential part of understanding how to organize your fridge is knowing how to make the most of the space you have. One of the best ways to do this is by using clear, stackable storage containers. These containers not only maximize space but also make it easier to see what you have at a glance.
- Use Clear Bins: Group smaller items, like snack packs, cheese slices, or yogurt, in clear bins for better visibility and to prevent items from scattering.
- Glass Containers: Store leftovers or meal preps in glass containers. These are ideal because they’re stackable and you can see the contents easily.
- Lazy Susans: Use a turntable for condiments or small jars, making it easy to access items in the back of the fridge without having to rearrange everything.
- Label Containers: For an extra level of organization, label bins or containers. This step makes it easier to maintain your system and helps everyone in the household follow the same organizational pattern.
Using clear containers is a game-changer when learning how to organize your fridge, as it simplifies everything from meal prep to cleanup.
Step 5: Rotate Items to Maintain Freshness

Another crucial tip when learning how to organize your fridge is to practice the “first in, first out” method. When you bring home new groceries, place them behind older items so the older items are used first. This simple habit reduces the chance of food going to waste because it was forgotten in the back of the fridge.
- Weekly Checks: Once a week, do a quick scan of your fridge to ensure nothing is nearing its expiration date. Remove anything that’s past its prime.
- Meal Planning: Use items that are closer to expiration when planning meals for the week. This strategy will help you keep your fridge organized and waste-free.
Rotating food regularly ensures that your fridge stays organized and prevents spoilage, a key component of knowing how to organize your fridge efficiently.
Step 6: Keep Your Fridge Smelling Fresh

Learning how to organize your fridge isn’t just about keeping things in order, it’s also about maintaining freshness. Here are some tips for keeping your fridge smelling clean:
- Baking Soda: Place an open box of baking soda inside the fridge to absorb unwanted odors. Replace it every three months.
- Natural Deodorizers: You can also use a bowl of lemon slices or a small dish of white vinegar to neutralize odors naturally.
A fresh-smelling fridge is an important part of knowing how to organize your fridge effectively.
Step 7: Regularly Clean and Maintain the System

The final step in mastering how to organize your fridge is maintenance. Even the best organizational systems need upkeep. Set aside time each week or month to tidy up, wipe down shelves, and check for expired food.
- Weekly Tidying: Spend 5-10 minutes each week reorganizing items, rotating food, and wiping up small spills.
- Monthly Deep Clean: Every month, take out all the food and do a deeper clean to prevent buildup and stains.
By maintaining your system, you’ll keep your fridge organized and functioning at its best.
Conclusion
Knowing how to organize your fridge is a skill that will save you time, money, and frustration. From categorizing your items to using the proper storage zones, these steps ensure that your fridge remains clean, efficient, and a joy to use. Regular maintenance and attention to detail are key to keeping your fridge in top shape. I also liked this youtube video on fridge organization. Have look there, it might help you as well.
If you’ve been wondering how to organize your fridge, now you have a clear path to follow. Implement these tips today and enjoy a more organized, efficient kitchen!
Leave a Reply